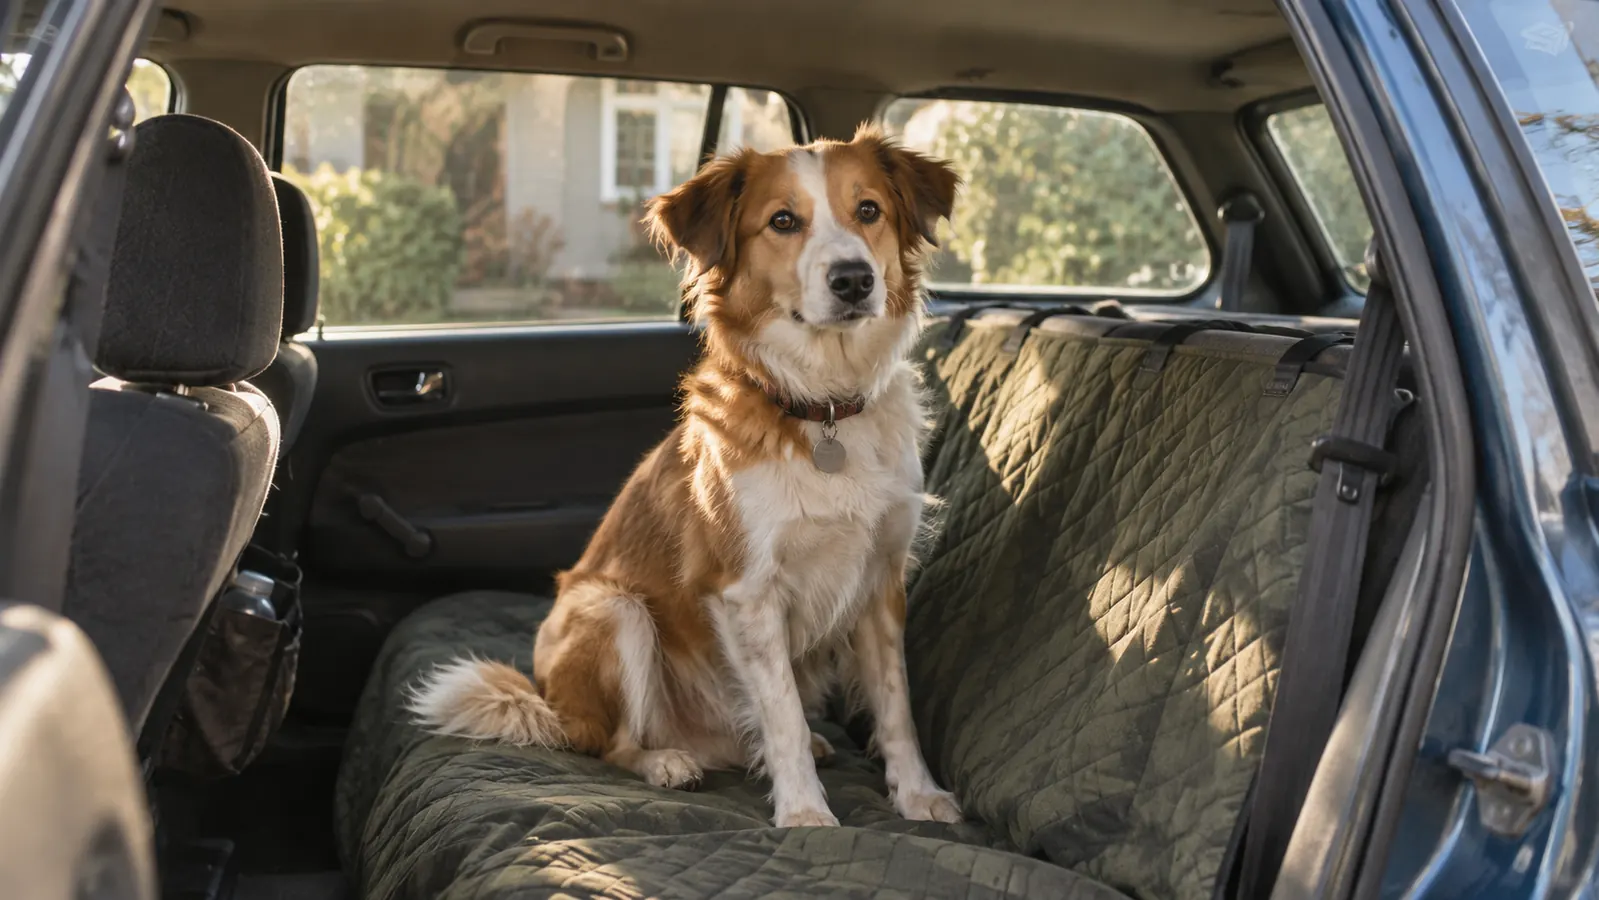
Scout has been riding in my Outback since she was about a year old, and for four of those years she rode loose. She would start out on the passenger side, drift to the middle, rest her chin on the console, and somewhere around Eleva decide she needed to be closer to me. I spent twenty years dispatching school buses and I still do not have a good answer for a dog who wants to sit on the gearshift. A loose dog in a moving car is a distraction first and a projectile second, and neither one is a thing you can practice your way out of. She needed to be held in one spot. Not strapped down like luggage. Just held.
The fix, nine months ago in February, was a Kurgo Tru-Fit Smart Harness. Second of five things I have bought for the car, one at a time, on my own money. I am not going to tell you it turns a car into a safe place for a dog, because nothing does. What I will tell you is the procedure. The measuring, the fitting, the order I tighten things in, and the way it connects to the seat belt. Most of the harnesses I see at rest stops are on the dog wrong in at least one way. Mine was too, that first week.
Five adjustment points, one seat belt, and a dog who finally stays put
The Kurgo Tru-Fit Smart Harness uses all steel nested buckles, has leash attachments on the back and the front, and is crash tested for dogs up to 75 lbs. Measure the chest before you order, then fit it against the size chart.
Amazon Check Today's Price on Amazon →Step 1: Measure the chest, not the weight
Get a soft tape measure and a dog standing square on a hard floor. Run the tape around the deepest part of the ribcage, just behind the front legs, and read it where the tape meets itself. Write it down. Then measure the neck at the base, where a collar sits. Do both twice. The first pass on a wiggling dog is usually an inch off, and an inch is the difference between a harness that sits on the shoulder blades and one that works at the armpits.
Then read the size chart, not the weight range. The Kurgo chart gives each size its own neck and chest range, and the harness is crash tested for dogs up to 75 lbs. The weight tells you whether the harness is rated for your dog. It does not tell you what to put in the cart. Scout is 18 pounds, small enough that I assumed I knew her size without measuring. I measured anyway, and the number was not the one I would have guessed.
If your chest measurement lands near the line between two sizes, you are guessing, so guess with a return policy behind you. Order from a seller that takes returns, fit it the day the box arrives, and keep the packaging until you have walked the dog around the block in it. A harness that is one size off will still buckle. It will just be wrong in a way you do not notice until month six, when the seams are worn through where the straps rub.
Step 2: Do the first fitting in your own driveway
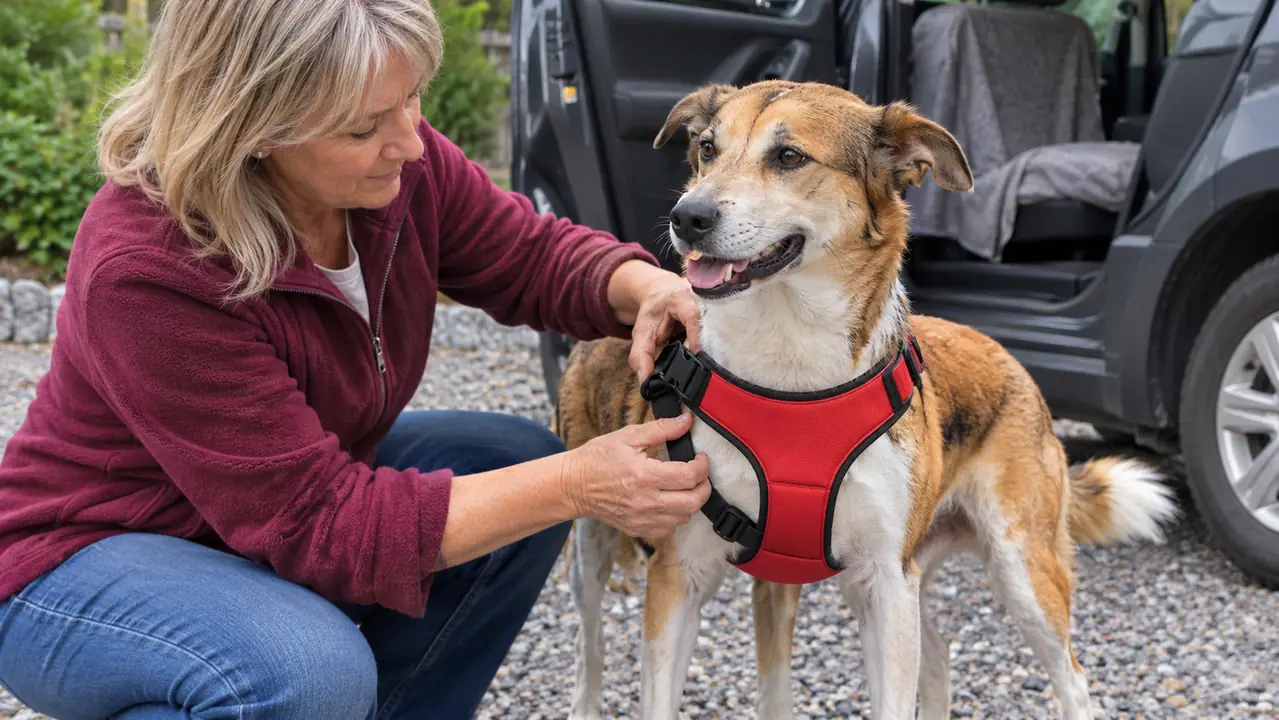
Not at the trailhead, not in the rescue parking lot, not ten minutes before you have to leave. The first fitting takes real time. Mine took the better part of twenty minutes, most of it spent figuring out which strap was which while Scout stood there giving me the look she reserves for baths and nail trims. Give yourself a Saturday morning and a pocket of treats, and do it with the car off and the doors open so you are not folded into a footwell in the rain.
Put it on the way the instructions show, which depends on how your dog is built. Scout is a terrier mix with a deep chest and thin legs, and the version that goes over the head works for her. A dog with a wide chest and a narrow head is usually easier to step into. Whichever way you go, get the harness sitting level on the ribcage before you touch a single strap. A harness that starts out twisted will still be twisted after you adjust it. Just tighter, and much harder to fix.
Step 3: Work the five adjustment points in order
There are five adjustment points and the order does matter. Start at the chest, since that strap decides where the whole harness sits on the body. Then the pair up near the shoulders, then the remaining two. Snug each one until the strap lies flat and you can still slide two fingers underneath. Stop before the hardware digs in. If a strap sits in the crease behind a front leg, the harness is too far back, so loosen the chest and move the whole thing forward a finger's width.
When all five are set, take the harness off and put it back on. Then check the fit again. Straps drift the first few times as the webbing settles, and a harness that fit on Tuesday can be a hole loose by Friday. That is why I keep a permanent marker in the glove box and mark each strap where it should land. It saves me squinting at Scout from six angles in a parking lot, which is not a thing she enjoys and not a thing I am good at.
The tradeoff with this harness is that five adjustment points buy you a good fit and cost you a slow first setup. Once it is set, it stays set, and I put it on Scout in a few seconds now. The other tradeoff is that it is hand wash only. When it gets muddy, that means a bucket in the utility sink and a night over the furnace register. Not the washing machine, no matter how much you want it to be.
Step 4: Connect the back attachment to the seat belt
Two attachment points, two jobs. The one on the back is the car connection. The one on the front is for walking, and that is the only place I use it. Run the vehicle seat belt through the back attachment and buckle it, then slide the seat belt's own adjuster until the dog can stand, turn around and lie down but cannot get a front paw over the console. If your seat belt locks when you pull it all the way out, use that. It takes up the slack and stops the dog working the belt loose over ninety miles.
Some people use a separate seat belt tether clipped to that back attachment instead of threading the belt through it. I have seen that setup on another volunteer's dog at the Tomah hand-off, and it looks tidy. I have not owned one, so I am not going to pretend to know how it behaves over a long drive. Threading the belt works, it needs no extra gear, and it is what is in my car every single trip.
Scout rides on the rear driver's side of the back seat with the harness on and the belt through the back attachment. Never the front seat. Not even for the six blocks to the vet, not even when she is being pitiful about it. If the dog is in the car, the dog is in back. That rule matters more than which harness you buy, and it is the one rule I have not broken once in five years of transport Saturdays.
Step 5: Test it with the car in park, then around the block
With the belt buckled and the car off, ask the dog to sit, then lie down, then stand. Watch the harness while she does it. Nothing should twist, no leg should end up inside a loop that was meant to be outside it, and the buckles should sit flat against the body rather than under it. Give the back attachment a firm pull toward the seat. If the harness shifts a hand's width or more, something is loose, so go back to Step 3 and find which strap it is.
Then drive around the block, slowly, with somebody watching the dog if you can arrange it. Pull back into the driveway and check everything again. Tuck a leg through a loop on purpose, if the dog will tolerate the fuss, and see whether anything moves that should not. An hour of that on a Saturday afternoon is worth more than every harness review on the internet, mine included, because your dog is not shaped like mine.
After that, the check is thirty seconds before every trip, the same way you check your mirrors. Harness on, belt through the back attachment, buckles flat, legs clear. If the harness has been hanging in the garage for a month, check the fit again before you leave, because dogs change shape with age and with a winter coat coming in. Scout is six now and she has already gone out one notch since spring, which surprised me more than it should have.
What Else Helps
The harness is the piece that holds the dog. It is not the whole setup. The back seat of my Outback has a quilted hammock over it, and that is what keeps the cloth seats from turning into a hair mat, and what gives a restless dog something to brace against with her feet. The straps on mine need snugging every few weeks. That is the one maintenance item I actually remember, because a hammock that sags turns into a ramp and then you are back to a dog on the console.
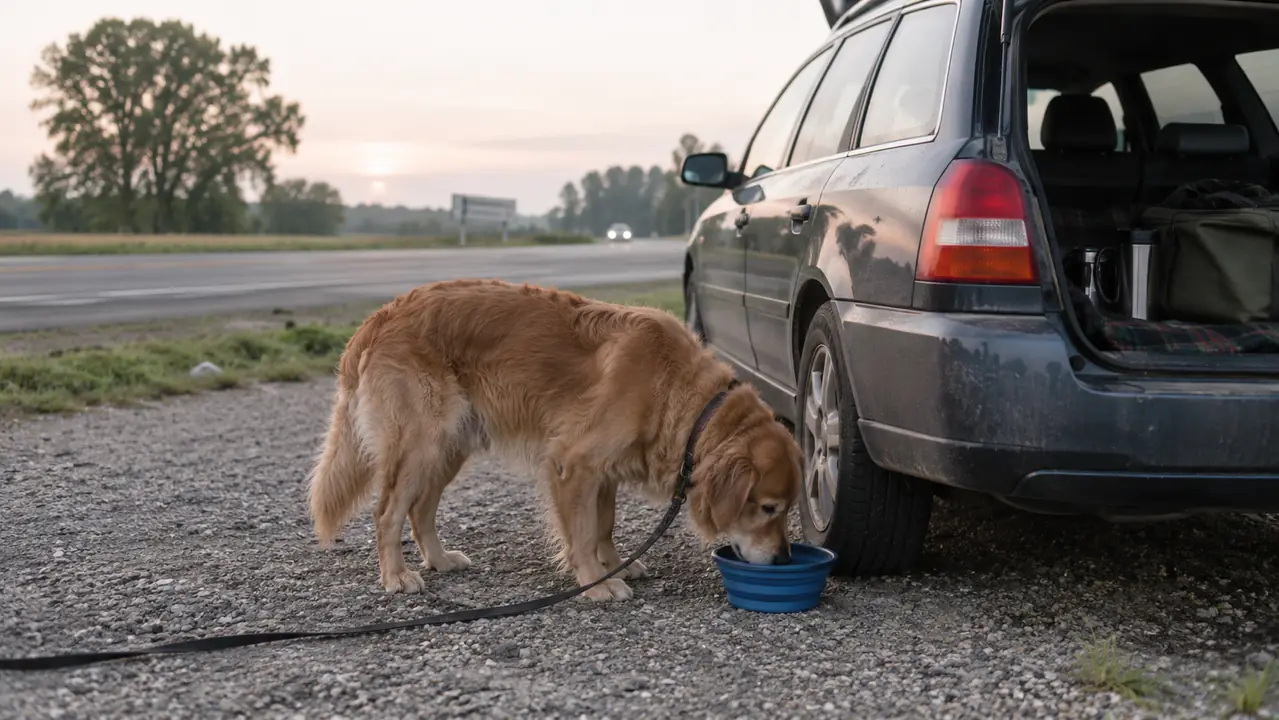
At stops, water matters more than anything else in the car. I carry two soft collapsible bowls, twelve ounces each, one clipped to Scout's leash by its carabiner and one in the glove box, with a jug of water in the cargo area. At the Tomah truck stop I fill a fresh bowl for each dog and I do not let them share, because I do not know what the dog before them had. The bowls tip on gravel. Set them against a tire and they stay put.
The last piece is a place to put a dog down while you are parked. I keep a pop up crate folded flat in the cargo area and open it with the hatch up, in the shade, with me standing right there. It holds Scout or a small calm transport dog for the ten minutes it takes to hand off paperwork and swap a leash. It is not something I would drive with a dog inside it, and it is not for a chewer or a panicked dog. Mesh and zippers do not stop determination.
One thing I will say plainly, because I have seen it in rest stop parking lots in July. Never leave a dog alone in a parked car. Harness or no harness, windows cracked or not, five minutes or fifty. Take the dog in with you or leave the dog home. There is no version of that equation that works out.
Five adjustment points took me twenty minutes to set the first time. Now the harness goes on Scout in a few seconds, and the seat belt goes through the same back attachment on every single trip.
The harness that has been in my car for nine months straight
Kurgo builds the Tru-Fit Smart Harness with five adjustment points, all steel nested buckles, and leash attachments front and back. Measure the chest, order against the size chart, and give yourself twenty minutes in the driveway the first time.
Amazon Check Today's Price on Amazon →